How to Take the Perfect Grad Photo
Graduating is a huge flex for anybody… it’s a time to celebrate your hard work, dedication, and persistence – and we think it’s pretty impressive.
But did you really graduate if you didn’t document it somehow?… We’re talking about that all-important graduation photo.
We know you’ve thought about how you want to capture your graduation… Whether it be a selfie with your certificate, or that infamous action shot of you throwing your trencher – a.k.a grad hat – into the air, and how can we forget that family photo where you make your brother or son wear a button-up shirt or capture them giving you a well deserved kiss on the cheek.
We know it’s not the same, not being able to attend your grad ceremony, just yet – however, we still think you should capture a moment or two, after all, you’ve worked really hard for this moment!
Side note: if you haven’t updated your preferences on the Grad Portal, please make sure you do so this way the Grad Team can keep you in the loop with future catch up ceremonies!
So, how can you make sure you capture that picture-perfect moment? We’ve put together the ultimate guide to saying cheese to your graduation, alongside some tips we got from our favorite Armidale professional photographer, Simon Scott, to make sure your photo really stands out!
Decide on what device you will use
This one is pretty standard. Decide which camera device you wish to use. If you’re going to use a camera you might want to think about the type of settings you want to have, there’s a blog on that here.
If you’re going with a Smartphone, (which, let’s be honest – they’re rather good these days), make sure to give the lenses a good wipe, and while you’re at it, give the whole phone a wipe! Why do we suggest this? Simon makes a good point, “smudges, fingerprints, and dust can cause distortion and dull a photo. It’s amazing how dirty a phone can be. I use glasses cleaner and cloth to clean my phone.”
You’ll also want to make sure you have the grid set up so you can position your photos perfectly, do that by going to Settings > Camera > Grid – but more on this later.
Lighting is everything
Avoid shooting at night-time or in direct sunlight to avoid poor exposure and shadows. Also, avoid taking the photo if the light is coming from behind. If you are shooting during a sunny day, try to opt for the photo to be taken in the shade or next to a window. Golden hour is popular for a reason. The hour before sunset, or after sunrise is the perfect time to take a photo whilst the natural light is soft and will give your subject a warm glow.
Some further tips from Simon are that it can sometimes work to shoot into the light where you can create a silhouette of something fun, “like the grad hat being thrown up in the air,” Simon said. If you are shooting into the sun, find an object like a tree, lamppost, or person that can block the sun. Don’t forget on most smartphones you can touch and hold the screen (2-3 seconds) and the phone will set the exposure lock and focus lock on the area you tap on. Also, you can adjust the brightness of the scene too by sliding an icon (usually the sun icon on iPhones – after touching and holding the screen too)
So is the background…
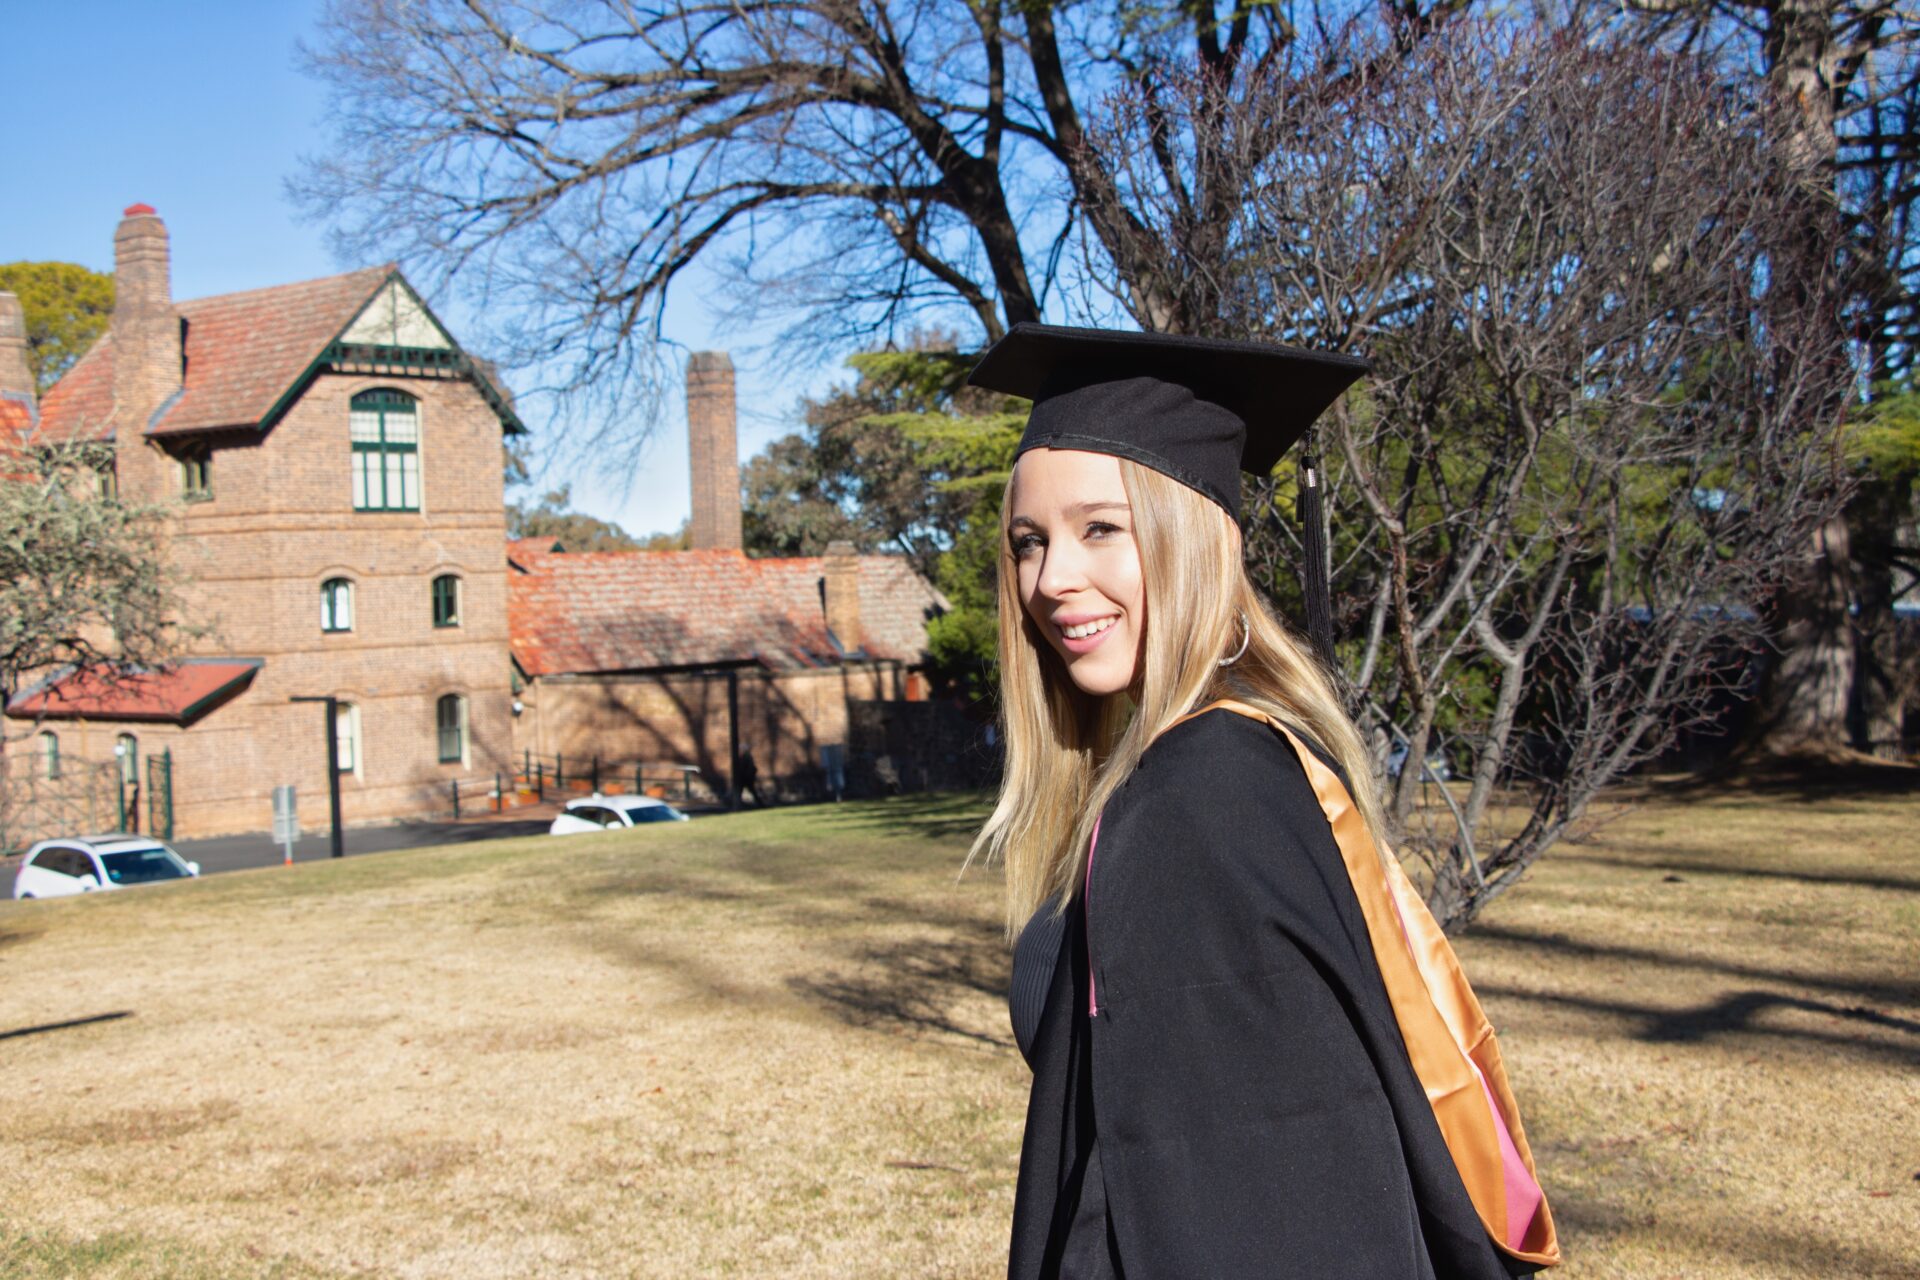
Where you decide to shoot your photo is also important. You might choose to take it in front of a special place from your journey at UNE, such as the front of Booloominbah, or one of our campus centres.
Simon has photographed many special events at UNE so he knows the perfect photo-worthy spots on campus. His tops spots include the large archway door at Booloominbah, “but watch the morning lights as it is harsh there,” he added. “The columns at the back of Booloominbah are likewise a good option to lean against to create an informal shot. Greenery always works or a path leading into the distance. Opposite the UNE library there is a cool red wall that could work for something different!”
Please remember that if you are visiting one of our campuses, we ask that you use the QR code at relevant buildings and maintain social distancing.
If you can’t make it to a campus, opt for a photo with a nice background like a local. Park or garden – getting outdoors is pretty dreamy!
Get the composition right
Remember how we spoke about getting a grid to show up on your screen when taking the photo? Simon suggests using the grid to help with the composition of the image. The rule of thirds applies here. The most important parts of your photo should be within the gridlines or at the intersections where the lines meet to allow for a well-balanced photo.
Some of the newer generation smartphones also have a focus lock option. If you press and hold the area of the screen that you want to keep sharp, you can then re-position your framing left or right of your subject to create a sense of balance.
Try portrait mode and live
If you’re using an iPhone or Samsung, you can try to use portrait mode to capture the perfect profile image. Portrait mode blurs out the background, making the subject of your photo stand out.
And if you’re trying to get that perfect trencher throwing image/jumping in the air/etc, try turning your live settings on. A live photo takes a couple of seconds of video before and after each photo you take. This allows you to edit the live shot and choose the best frame from the short video to use as a still image, there’s more on that here.
The live mode is great if someone is throwing their trencher hat into the air. You can then select the best frame from that sequence.
For something different, when taking the photo perhaps crouch down and look up at the subject while the action is happening, such as your friend giving a high five or just walking toward you are looking proud. Also, if you press and hold the shutter release button on the phone camera it will take a burst of photos which again may capture that moment of action you want.
Strike a pose
Simon has suggested some ideas for how to pose within the photo, “perhaps you could take 3 photos. One full length, one head to the waistline, and one head and shoulders. Get your friend to turn shoulders left or right toward you. Hands on hips for a slightly sassy pose. Fold arms and mean business.”
What to wear
Considering your grad photo will probably circulate amongst your friends and family on social media, and possibly get framed and hung in your very proud family members loungeroom – it’s probably a good idea to get your inner stylist out! You don’t necessarily need to be in an academic gown for your photo – but we recommend wearing something nice, dressing up to celebrate you – you deserve it!
Once you have taken your photo – its time to share! We would LOVE for you to send us a photo of you celebrating, we will share it on April 30th on the Celebration Wall, so you can stand along side messages and videos of congratulations as well as photos of fellow UNE Graduates! Send us your photo here.
If you do want a gown, which is totally up to you, you can buy the whole get-up from The Shop’s website here and if you’ve signed up to attend a future celebration, you can always keep it in the cupboard and bring it back out when the catch up dates are announced.
There’s also a whole stack of UNE memorabilia and merch you can purchase online,
to remember those fond moments of you.
But really, today isn’t about things – its about you, you’ve done something remarkable.
Well done! #ProudToBeUNE!